Hidden when you don’t need it
Keep your van counter clear for prep, work, and daily life.
Invisible induction. Made for van life.
No exposed burners. No grates. More room for life on the road. Invisa Cook hides beneath your approved porcelain worktop—ready when dinner calls.
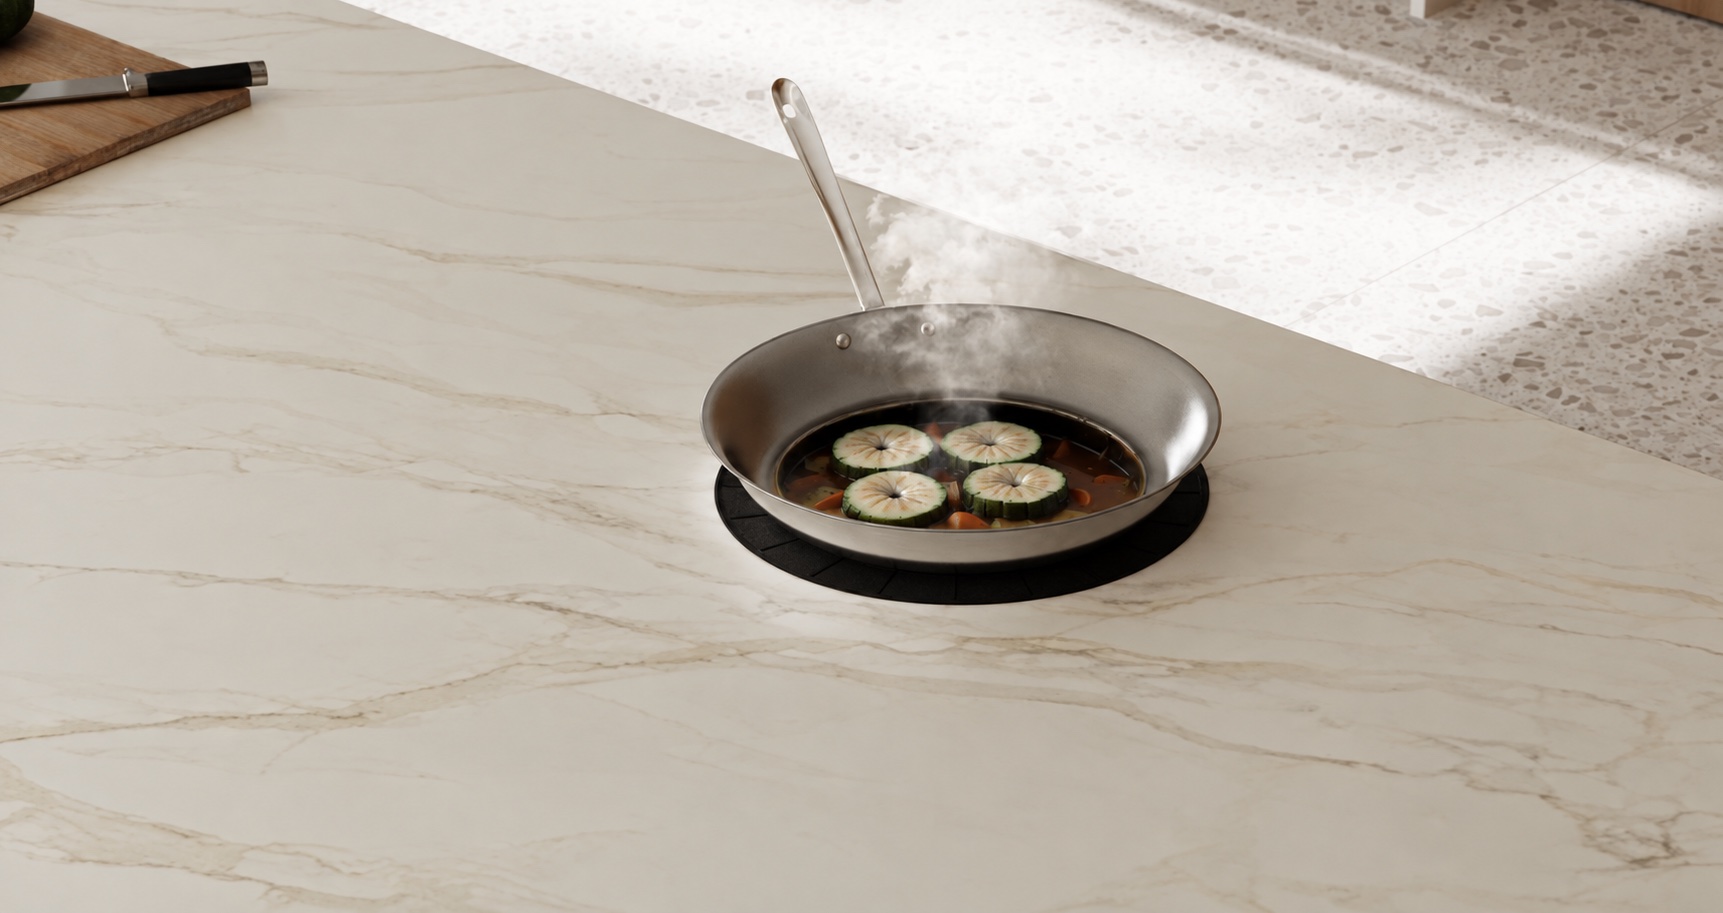
Keep your van counter clear for prep, work, and daily life.
Precise induction heat without an open flame.
110/120V options for vans, RVs, and off-grid trips.
Pan detection and auto shut-off for peace of mind.
Why purchase from us
A great galley starts with a system that works together. We specialize in 12V, 24V, and 48V lithium battery setups—and help you choose the Invisacook AC cooking system that fits your life on the move.
Talk through your buildWe speak battery banks.
And dinner plans.
Inverter capacity, battery storage, charging input, and shore power all shape your cooking setup. We help you understand how they work together.
Bring your component list and questions. We can help you review wiring, protection, grounding, and installation requirements with your installer.
A 12V van, a 48V skoolie, a tiny house, or a boat. Mobile and off-grid electrical systems are our focus, with practical support for DIY builders.
The cooktop runs on AC power supplied by a suitable inverter or shore connection. Your 12V, 24V, or 48V battery system is part of the complete build.
For Winnebago EKKO owners
We’re developing an Invisacook countertop upgrade for existing EKKO owners. An approved porcelain counter with induction underneath could give your galley more room for prep and everyday life.
Discuss your EKKO upgradeA countertop fabricator captures the counter shape, sink opening, mounting, and clearances with a professional laser template.
Work with a local fabricator to find compatible porcelain, including suitable remnants. Confirm the exact material and thickness before fabrication.
The goal is to supply your cooktop directly with instructions for the measured configuration. Your van builder reviews the electrical system and completes the countertop swap and installation.
Remnants are material left over from larger slab projects. They may lower your material cost; local availability, fabrication, and installation determine the final price.
Browse Zsolt’s slab & remnant inventoryInventory inspiration only. Each material needs Invisacook approval before purchase.
Measurements and a pilot installation come first. Model, year, and previous modifications can affect fit. Battery count alone doesn’t establish compatibility: the inverter, AC circuit, wiring, protection, and ventilation need review before installation.
The EKKO upgrade is in development. Final compatibility, package contents, pricing, and installation time will be confirmed after validation.
Choose your van setup
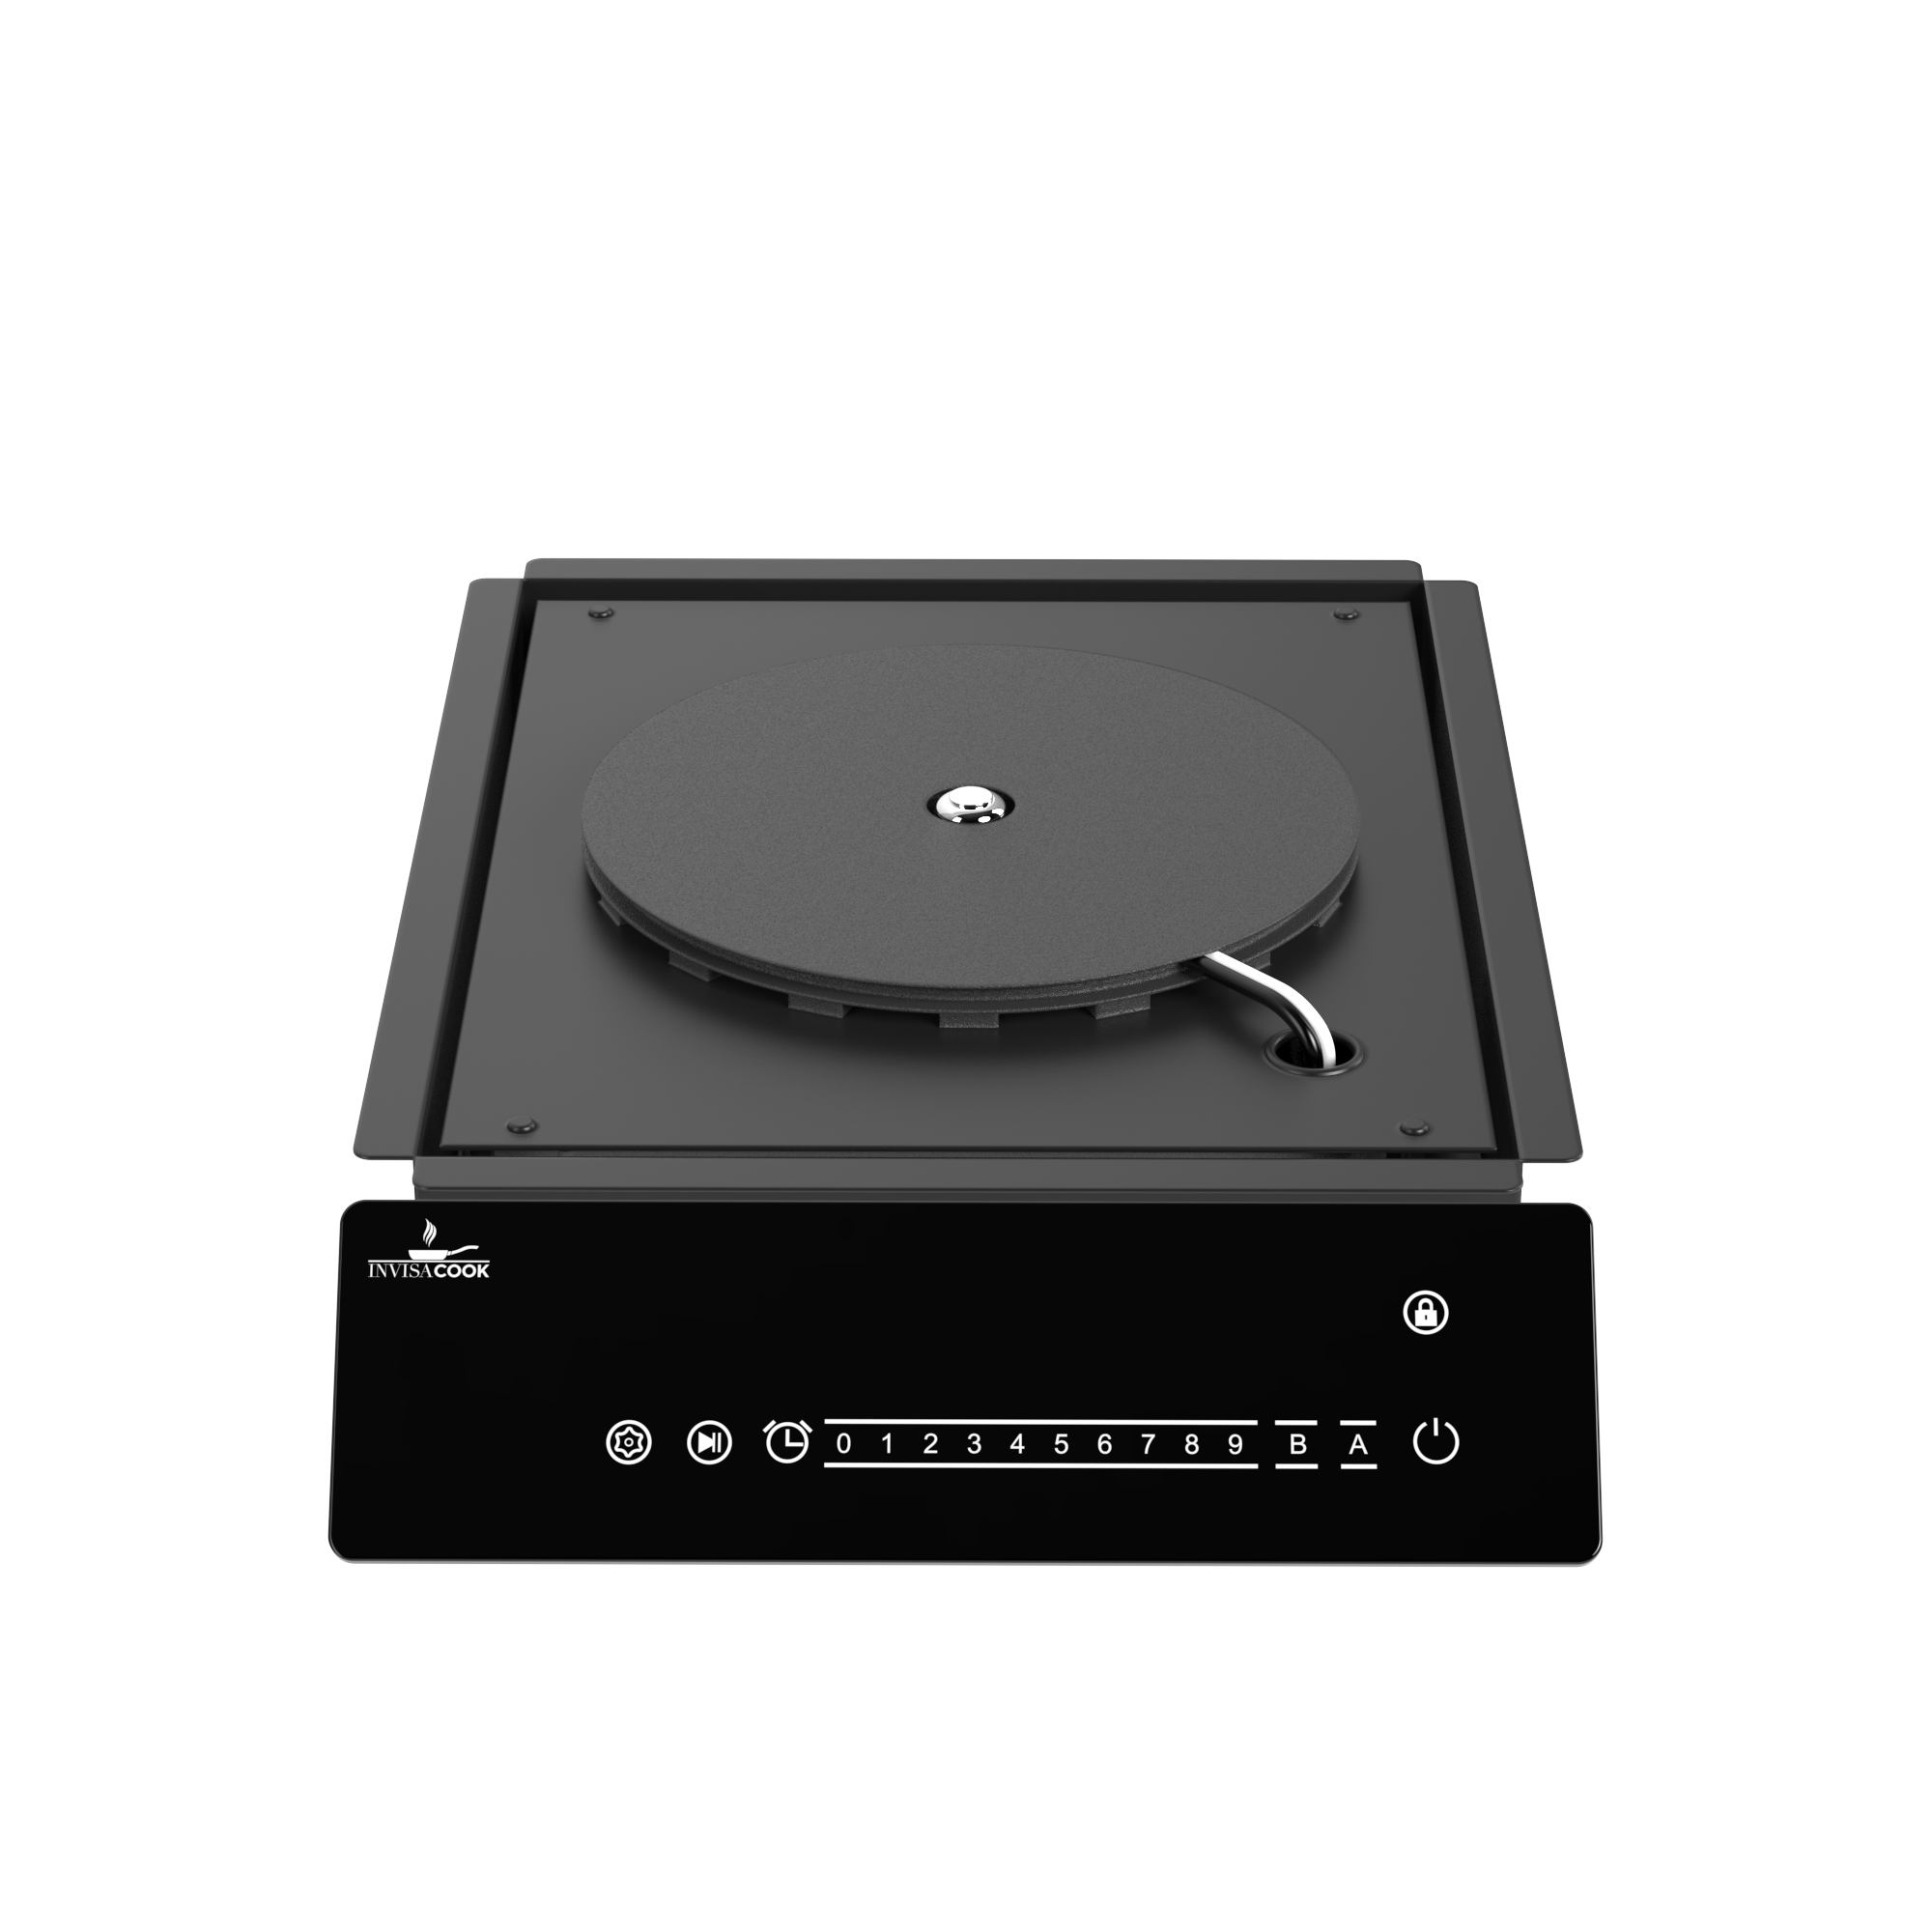
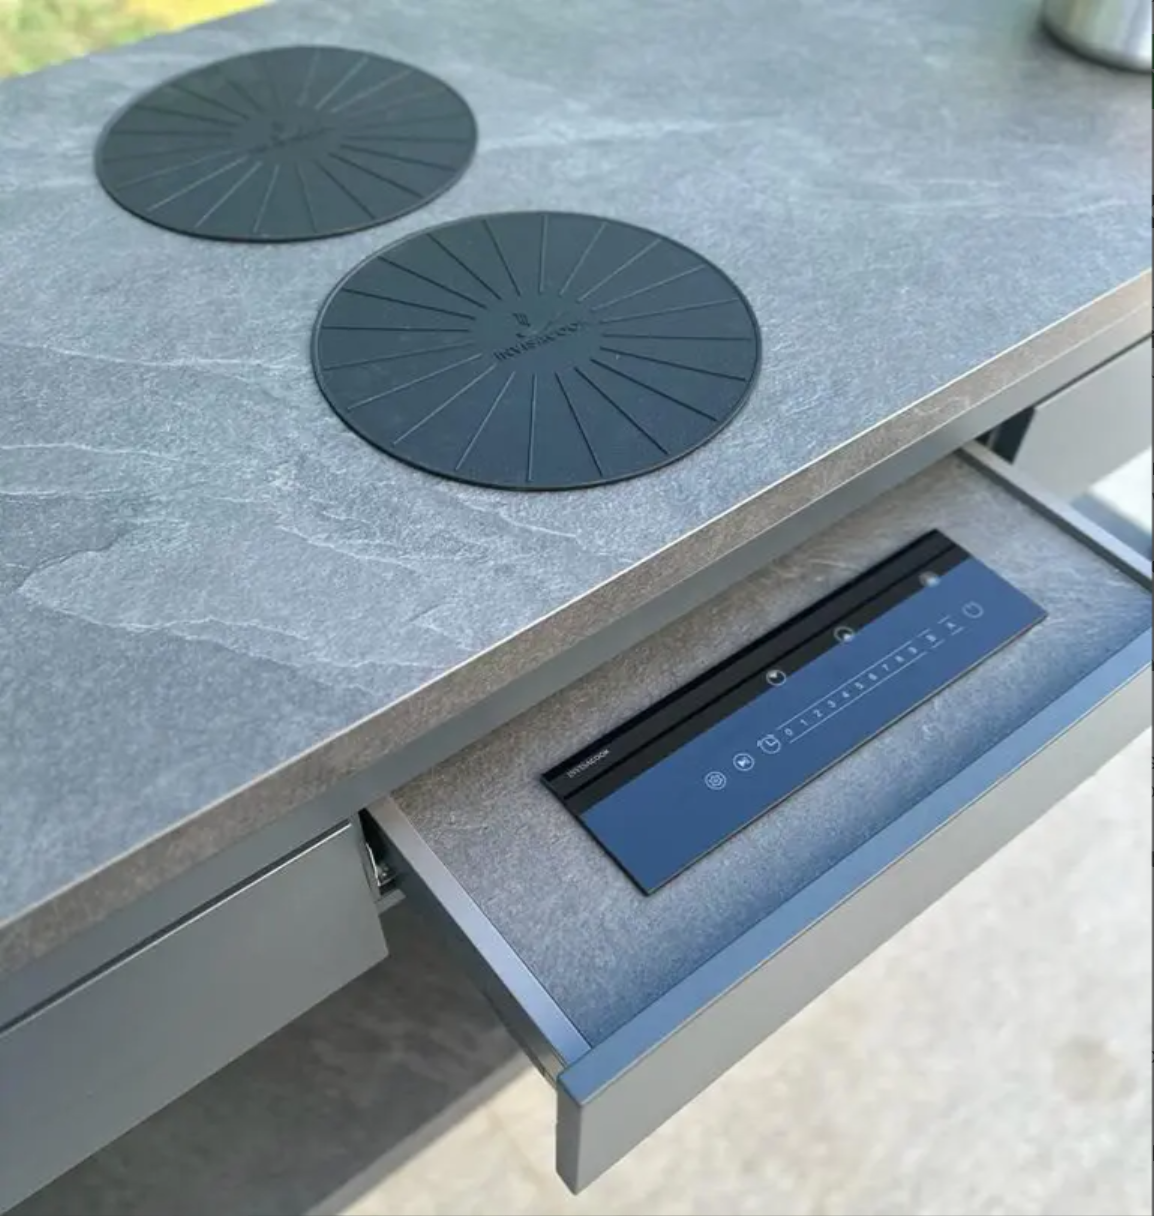
Both systems tuck under your van counter and separate the touch controller from the cooking surface. Choose voltage around your inverter, shore-power, and battery plan—not guesswork.
 01
1 cooking zone
The space-first choice for compact van galleys, coffee bars, and weekend rigs.
 02
2 cooking zones
Two-zone flexibility for full-time vans, RVs, tiny homes, and bigger adventures.
Two zones share 1,200W total on the 110V model.
Seamless by design
The induction unit is secured directly beneath an approved porcelain worktop.
The magnetic field couples with induction-ready cookware placed over the marked zone.
Remove the pan and mat after use, let the area cool, then reclaim the whole counter.
Sun-powered adventures. Thoughtfully planned.
A solar-equipped van can bring energy to the kitchen long after the panels have done their work. Plan the battery bank, inverter, and cooking load together, so your next meal fits your next adventure.
The systems shown here use AC power—not a direct connection to solar panels or a 12V, 24V, or 48V battery. Have a qualified installer size and verify your complete electrical system.
Check your van setupPlan before you purchase
Two quick details give you a useful starting point. We’ll still confirm the exact countertop, clearances, power, mounting, and ventilation plan before your system ships.
Select your surface and power plan to see a starting recommendation.
Built for the road
Good questions, clear answers
Under-counter induction is simple to use, but it deserves a considered installation. Start here, then let us review your build.
Connect with us
From a first idea to a one-of-a-kind kitchen build, your questions are welcome. Tell us what you’re working on and we’ll help you understand your options.
Less kitchen. More possibility.
A slow morning by the lake. Dinner at the last campsite. Make room for the moments that brought you out here—with a kitchen that disappears when you’re done.
Plan your van kitchen